Gimp 7b - I used a couple different tools here to created my stroked paths. I thought it was cool how you could design and customize your own "line breaks" to give it some personality. The background options available are great too. The best is using the Free Selection tool though.
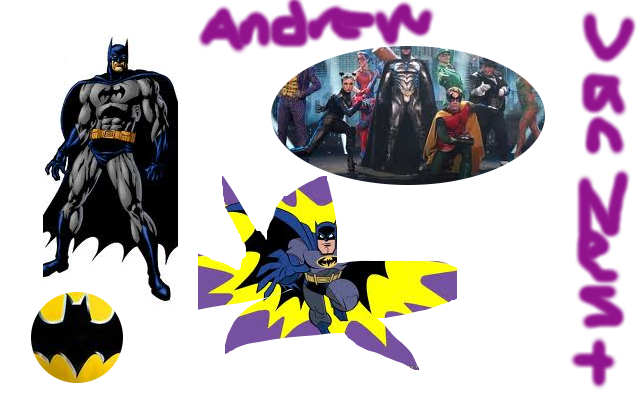
Gimp 7c - I really enjoyed learning this trick in Gimp (so much so I used it again in 7d) It allows you to create a "mini world" within your canvas or layer that whatever you put in it won't breach the barrier set by you. I used batman to create my "paste into"images.
Gimp 7d - This one was cool because it gave me the idea to start with a textured background and have images overlay on top. I had to create multiple layers and the paste into option along with anchoring each image to create this png. The parrots are 100%, the basketball is around 75%, and batman in the bottom corner is 12%.
Gimp 7e - This coupled opacity and text. I chose spots within the canvas and typed sentences and then adjusted the opacity meter accordingly. Changing the font and size was simple, just highlight within the text box and chose.
Gimp 7f - The scaling option is pretty straight forward. The trick to a successful scale is making sure the aspect ratio is locked. As you can see the first image of the ball is perfectly scaled at 50% of the original. But the second image is distorted height and width wise.


No comments:
Post a Comment